In the previous step, a new email has been created.
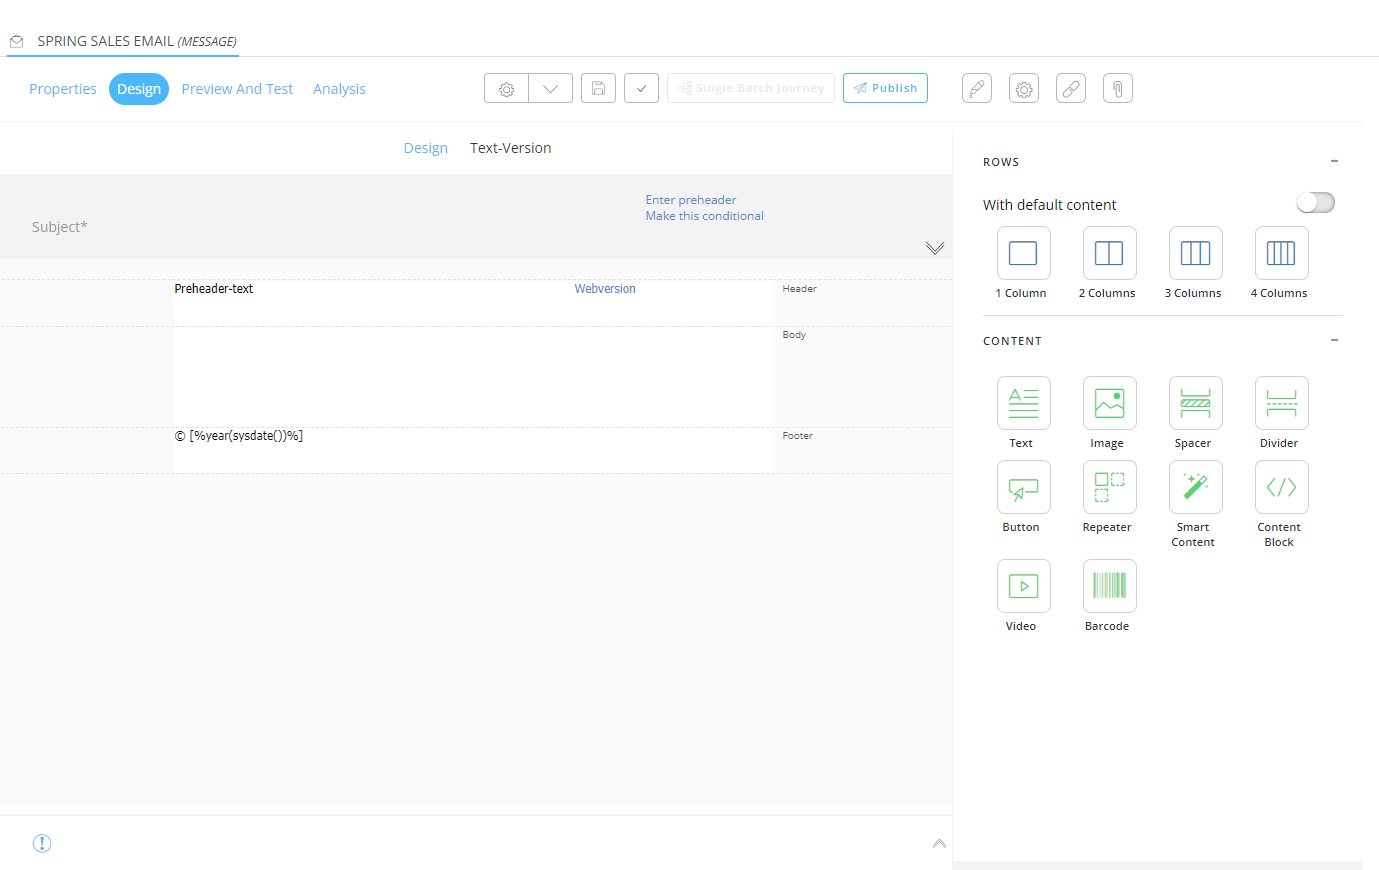
Now, we're going to add content to this email : a header, body and footer.
Note: There are several ways do design the email content. We'll only show one possibility for each section.
Content Header
For the content header (i.e. a navigation section at the top of the email content; not related to the 'email header'), let's add a two-column row :
- One small column on the left, containing a 'Parana' link to the Parana webshop homepage.
- One wider column on the right, containing three links to specific sections on the Parana webshop : Fashion, Home and Electro.
In order to achieve this :
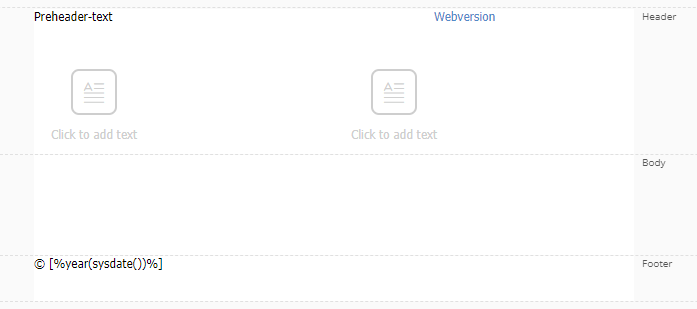
- Drag and drop a '2 Columns' Row Component from the components on the right onto the email design canvas, inside the Header section of the email.
- Click on the blue pencil icon of the added '2 Columns' Row Component to see its properties. Change the 'column-width ratio' to 14
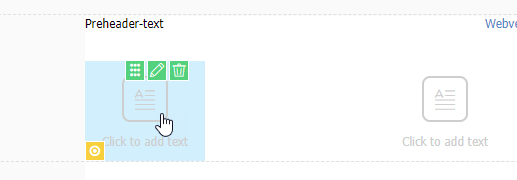
- Inside the left column (where it says 'Drop content here' when hovering over it), drag and drop a 'Text' component from the right (from the Content section).
- Inside the right column (where it says 'Drop content here' when hovering over it), drag and drop another 'Text' component from the right (from the Content section).
Note: If you want to remove a row, you can hover over the row and click on the blue trash bin icon (it's advised to keep the row with the 'Webversion' link, as deleting it might cause errors later on during the creation of the journey).
Your design now looks like this :
-
Click in the left column to add text :
-
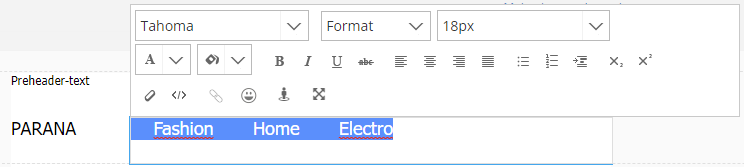
Add the following text in uppercase : PARANA
-
In the right column, add the texts (with some spaces in between) : Fashion, Home, Electro

-
Change the font type of the texts to Tahoma and font size to 18px.
-
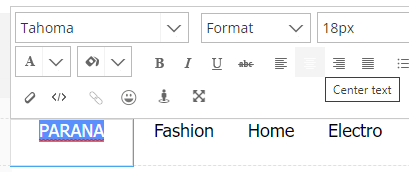
Center-align the PARANA text.
-
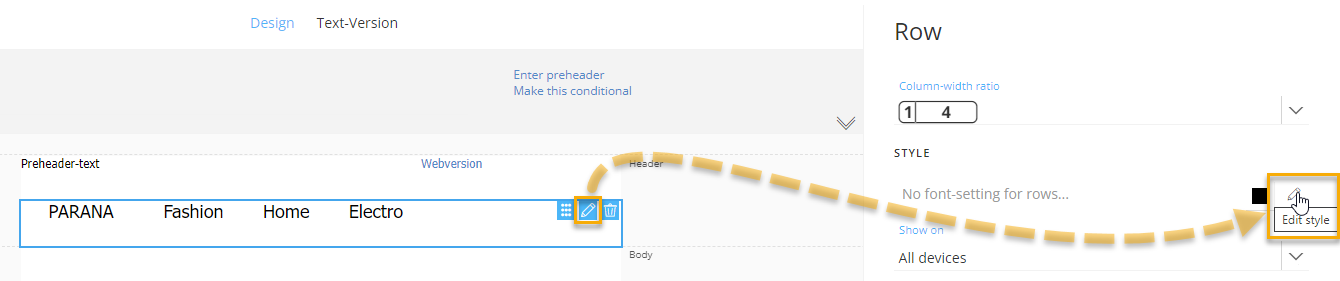
Click on the blue pencil icon to see the row's properties, and then click on the pencil on the right in the 'Style' section of the properties to edit the style.
-
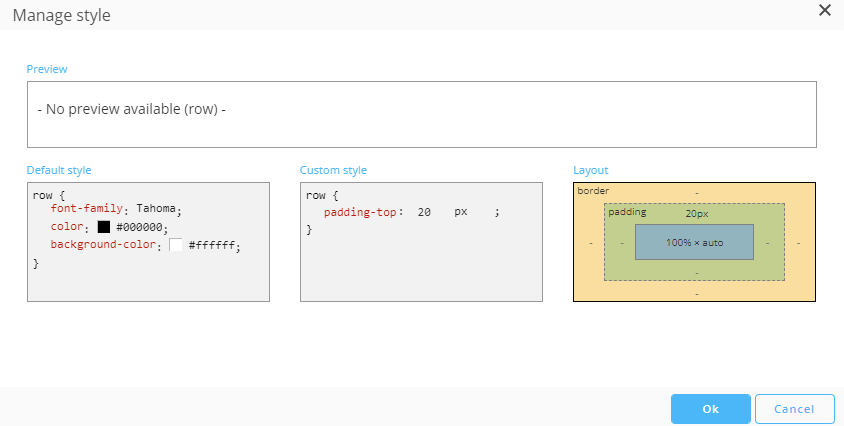
Add padding to the top of the row, so that the text gets vertically aligned and appears in the middle of that row.
This is done by adding an entry to the 'custom style', which is the middle section of the pop-up, like this : padding-top: 20 px ;
Click 'Ok' to close the pop-up and apply the custom style.
This will result in extra spacing at the top of the row :

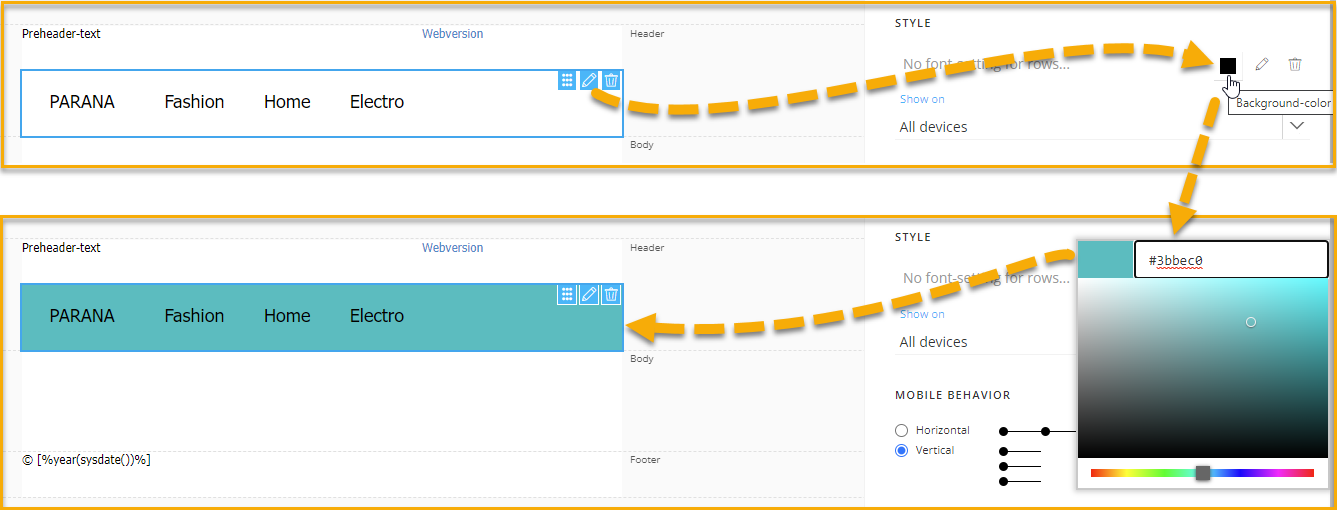
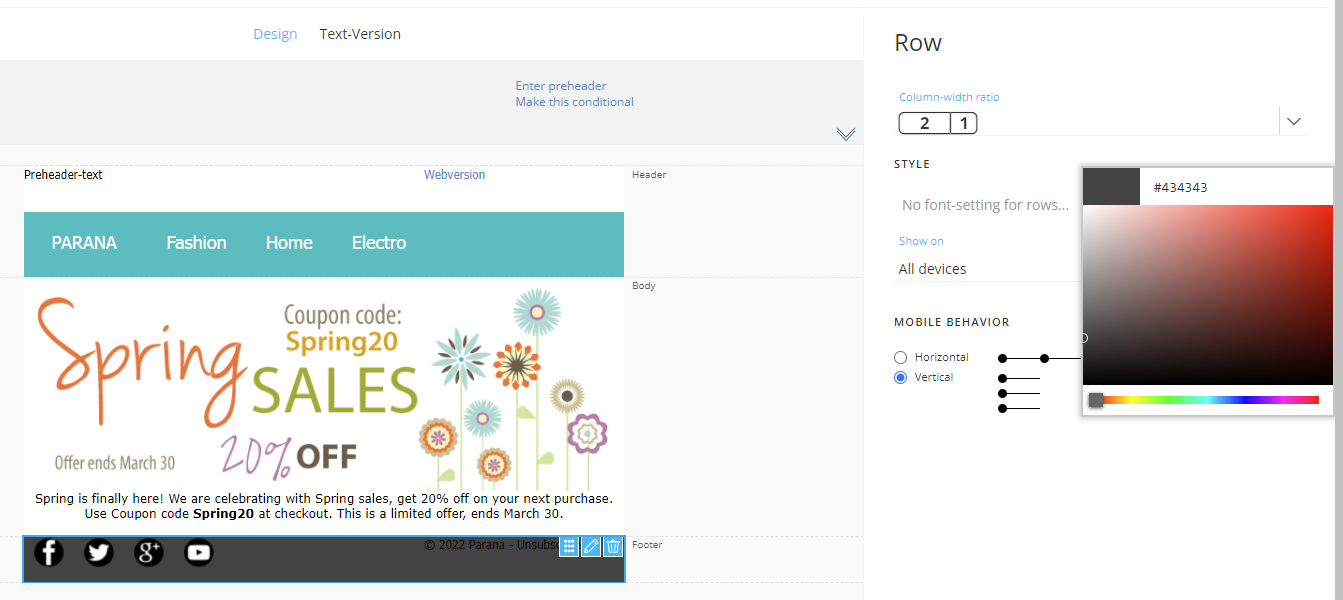
- Change the background color of the row to #3bbec0 (you can enter a hex color code, or simply select a color from the visual color picker) :
-
Change the text color of the text in the two columns to white (#ffffff), by simply selecting the text and the desired color :
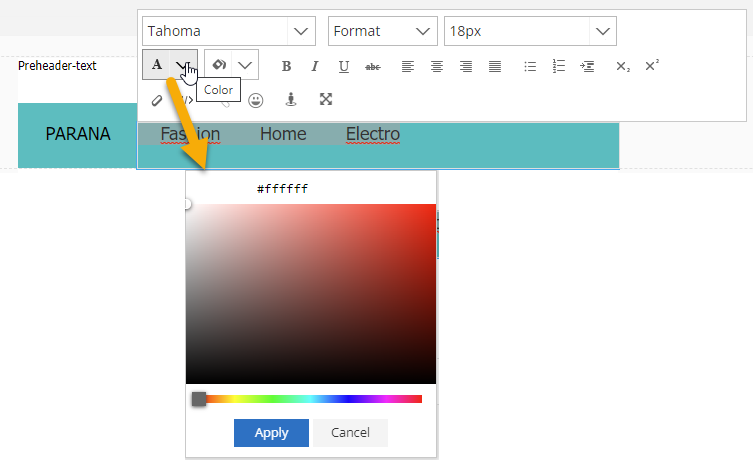
-
Click 'Apply'.
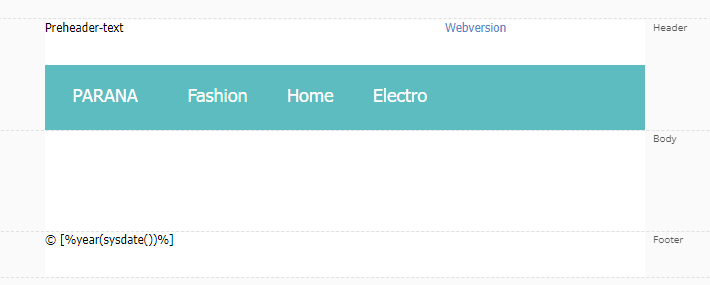
Your email design now looks like this :
Now let's add links to the texts, so that email recipients will be able to navigate to your web shop from the email.
This video shows how to add a link on to the 'PARANA' text that targets the web shop URL :
Repeat this process to add links to 'Fashion', 'Home' and 'Electro'.
Instead of linking to the web shop's home page (e.g. https://parana.selligent.com/shop/index.aspx), link each category to its appropriate web page (e.g. https://parana.selligent.com/shop/default.aspx?CATIDL2=22)
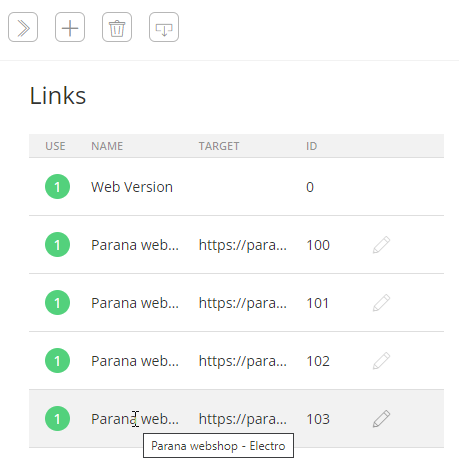
Note: All links will be visible in the 'Links' section (after clicking on this icon at the top-right of the Content editor ![]() ) :
) :
The email header is ready now.
Let's move on to the body content.
Note: Don't forget to save your email regularly !
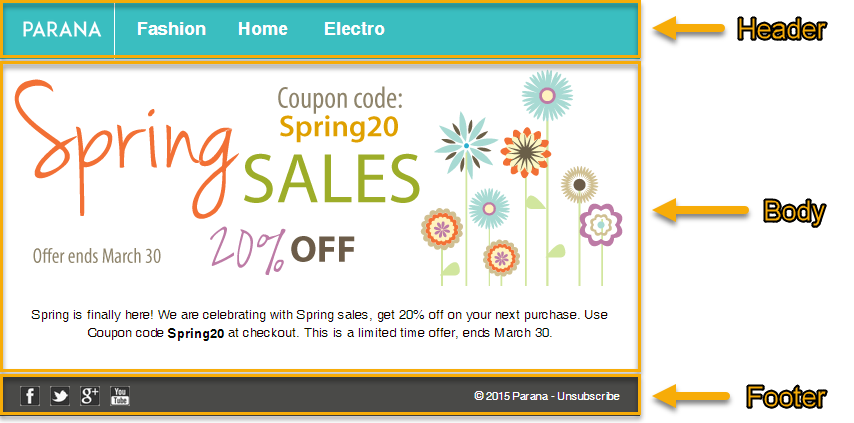
Content Body
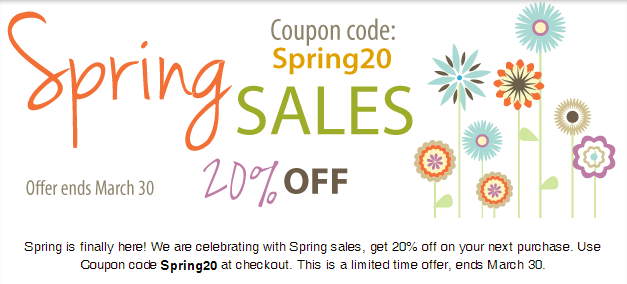
The body content we want to create, should consist of an image and some text.
-
As the image and text both span the complete width of the body, let's drag and drop a '1-Column' row from the right onto the design canvas, in the body section.
-
Then inside the 1-Column row, we'll add an Image component and a Text component underneath.
-
In the Image properties, select the correct image (upload it to the library if necessary).
-
Add the Text (as shown in the screen above) under the image.
-
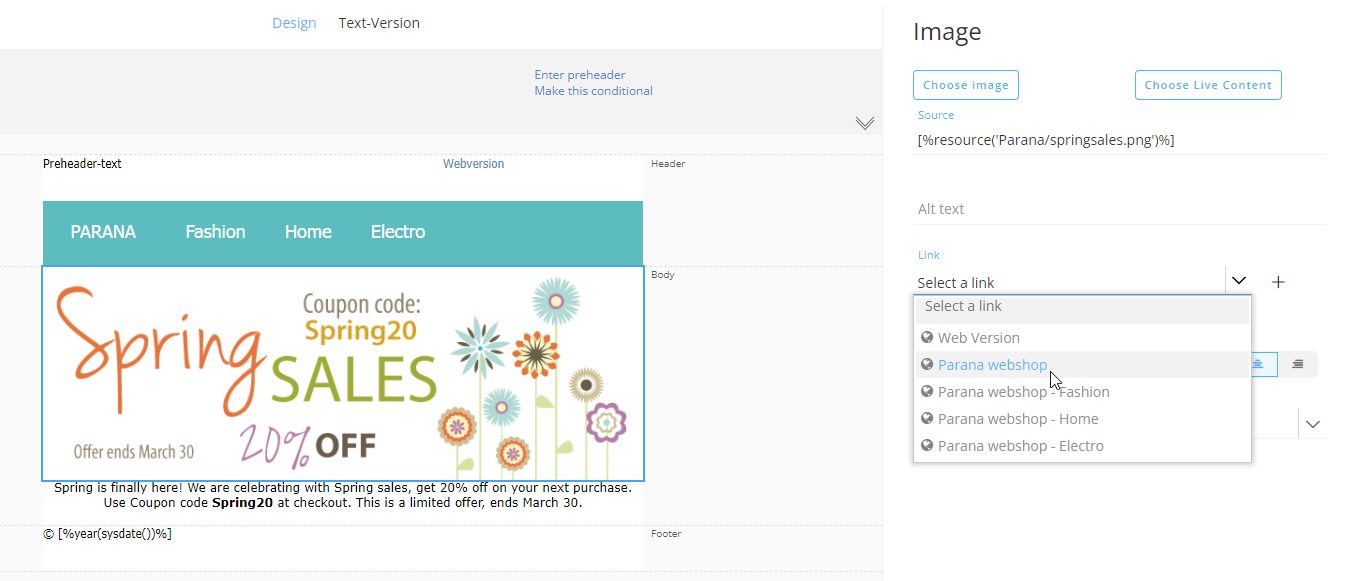
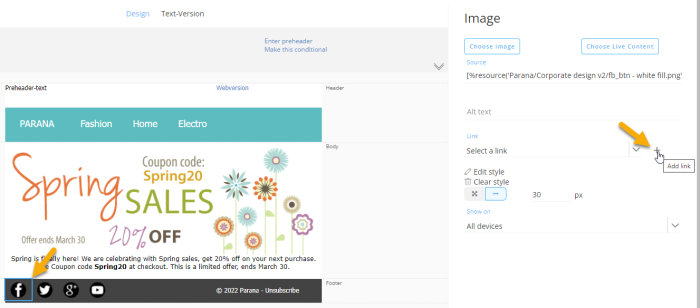
Let's set a link in the image properties, so email recipients can click the image to navigate to your web shop.
It's possible to define a new link, or select an existing one from the list.
That's all for the body content.
Let's move on to the footer.
Content footer
As footer, we want one row containing some social media icons on the left, and copyright info together with an unsubscribe link on the right.

- By default, there's a footer available. This one exists out of a single column. As we want a '2 Columns' Row instead, let's remove the default footer row by hovering over it and clicking on the blue trash bin icon.

- Now let's drag and drop a '2 Columns' Row from the components on the right onto the email design canvas, inside the Footer section of the email.
- Click on the blue pencil icon of the added '2 Columns' Row Component to see its properties. Change the 'column-width ratio' to 21
- Select the left column and set the 'column layout' to horizontal (as we want to add 4 images next to each other).
- Inside that left column, drag and drop 4 'Image' components from the right (from the Content section).
- Inside the right column, drag and drop a 'Text' component from the right (from the Content section).
Video showing the steps above :
- For the image components :
- Choose the appropriate icon for each image (Facebook, 'X' (formerly Twitter), Google, Youtube). Upload images if necessary.
- Set the image width of each icon to 30px.
- For the Text component :
- Add the text : '© 2022 Parana - Unsubscribe'
Video showing the steps above :
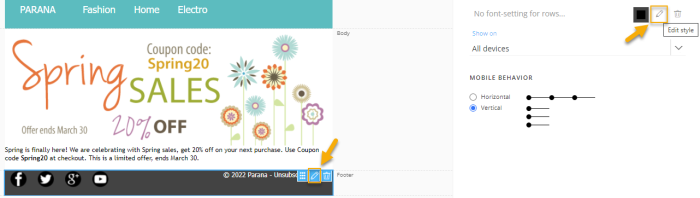
Your footer design now looks like this :

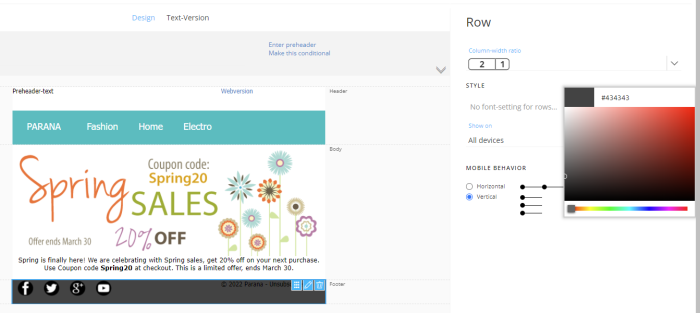
- Change the Row's background color to dark gray : Click on the Row and the blue pencil icon. Then select the dark gray color from the visual selector (or enter a hex color code) in the 'Style' section of the Row's properties.
- Change the text color of the '© 2022 Parana - Unsubscribe' text in the right column to white, by selecting the text, and clicking on the drop-down next to the 'A' symbol.
The white color can then be selected from a visual selector (or by entering a hex color code) and can be applied.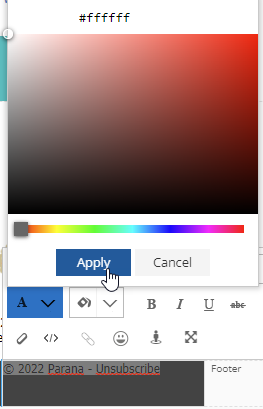
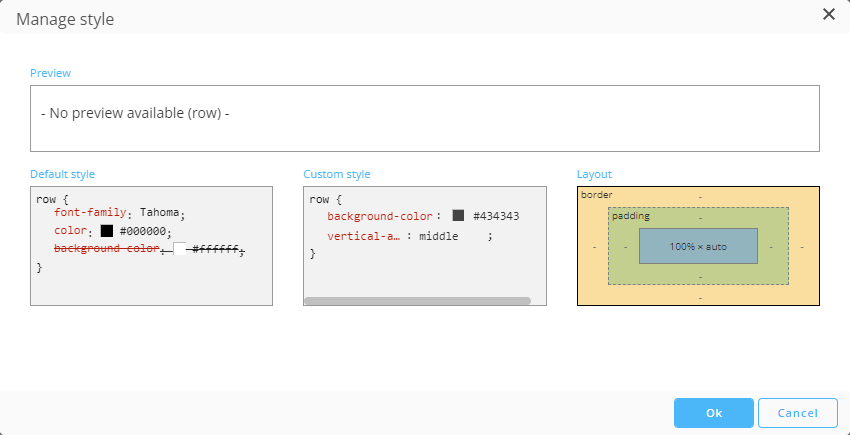
- In the Row's properties, edit the style :
- Add this to the 'custom style' :
vertical-align: middle ;
The social media icons and the text will then be vertically aligned to the center of the row instead of the top.

We'll now need to add links to the social media icons, and to the Unsubscribe text :
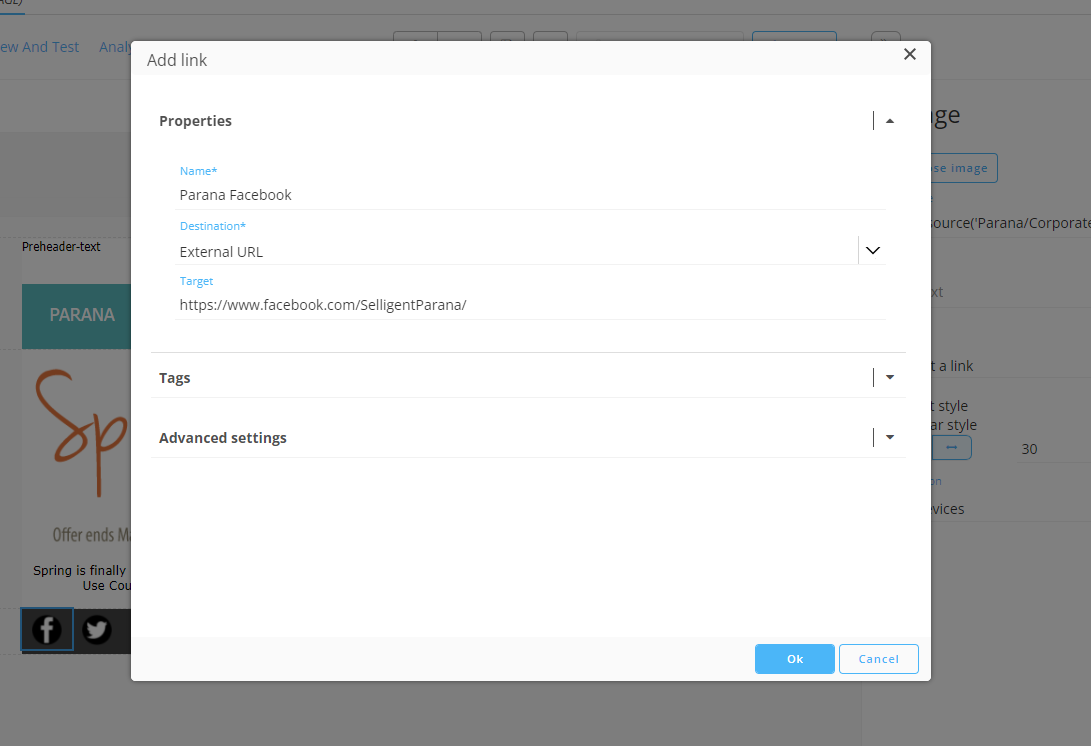
- Click on the Facebook icon and add link.
- Enter the link name, an external Facebook URL target and click 'Ok'.

- Repeat this for the other social icons, to link them to appropriate URLs for 'X' (formerly Twitter), Google and Youtube.

-
Finally, we'll also add a link to the 'Unsubscribe' text.

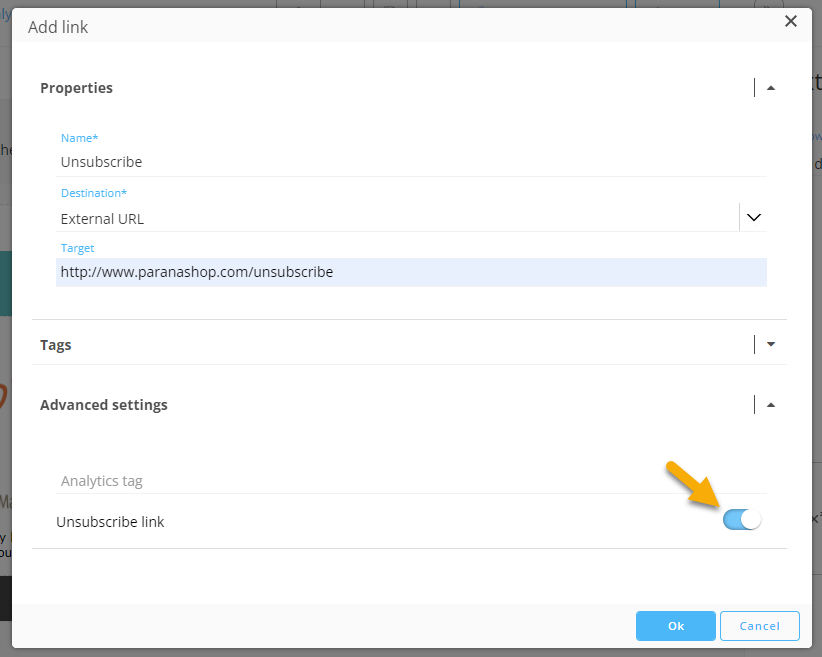
Let's create a new link and set an external target URL as the destination of the link.
Also enable the 'unsubscribe link' toggle, so validation will recognize this as an unsubscribe link.
Set the text-color to white (hexadecimal color code : #ffffff).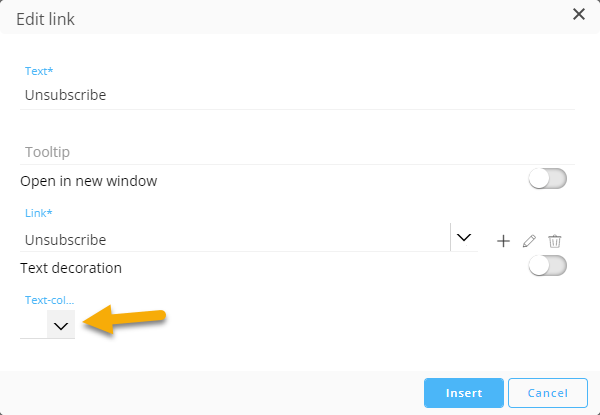
Note: Don't forget to save your email regularly !
| STEPS : |
|---|
| 1. Create a new email |
| 2. Design the email content |
| 3. Add email header |
| 4. Extract text version |
| 5. Test/Preview the email |
| 6. Create a basic journey to send out the email to contacts |
